
How do you go about writing church blog posts? Where do you start and how do you see an idea through to completion?
On a similar ‘getting things done’ sort of theme, I thought it would be helpful to share the process I go through when writing and publishing a blog post – from start to finish.
Before we get started, if you’re new to blogging, or thinking of getting started, here are a couple of posts that may be helpful:
Ideas and Upcoming Posts
First things first, I use a board on Trello to capture my ideas (see my previous post on using Trello for church communications here).
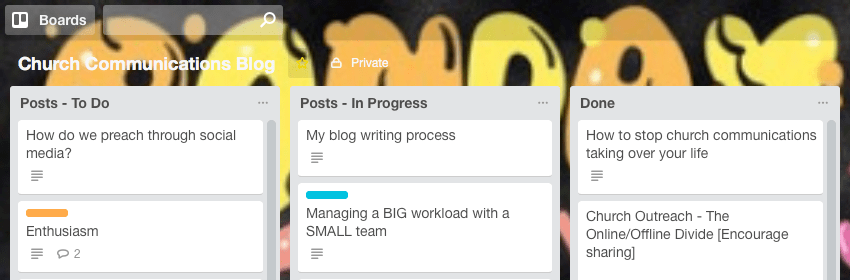
All of my blog ideas have their own card on Trello, as you can see above. When I create a card, I add my initial thoughts to the description. This forms the basis of my list of upcoming posts, and keeps everything together in one place.
This Trello board is the first place I go to when deciding what to write next, and any new post ideas are immediately added to the list.
From time to time I go through and reorder these cards in priority of when I want to write them. I also find it useful to revisit older ideas, adding any more thoughts and fleshing out the summary I initially added.
Automation
When it’s time to get started on the next post, I move the Trello card from the ‘Posts – To Do’ list to the ‘Posts – In Progress’ one. Adding a card to the latter triggers two IFTTT applets that I’ve created. IFTTT (If This Then That) is a really easy way to connect online services together.
The first applet creates a new Google Doc inside a folder called ‘Blog Drafts’. The document contains the title, and a link back to the original Trello card, however, the most important inclusion is the Trello card’s description. This means all of my existing thoughts and notes about this specific blog are automatically added into a fresh document – cool, huh?

The second applet automatically creates a task in Todoist, where I manage my day to day tasks. The task is created in my ChurchTrain project, with the card title, and a link to the ‘Blog Drafts’ folder so that I can open it straight away when I’m ready to start writing.
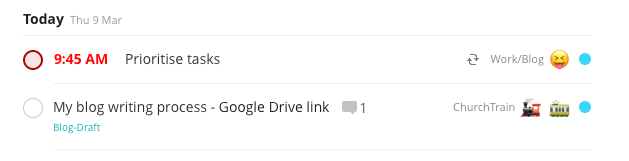
If you’re interested in using these applets for yourself, don’t hesitate to get in touch!
Writing
For better or worse, the first thing I tend to do when I open the Google Doc that IFTTT created for me is to write an intro. Many people will find it helpful to do this last, but I find that it helps me to set the tone of the post, which informs the rest of my writing. It’s easy to go back and edit the intro if the post evolves in a different way!
After this, I take the notes carried over from the Trello description, and develop them into an outline for the post. Usually at this point it’s still in bullet form. I then begin to expand each bullet – either into further bullets or into paragraph text. One quick tip here – adding links in Google Docs is great, as the ‘add link’ dialog box also acts as a Google search to find the right link! You can add a hyperlink by highlighting the text, then right clicking and selecting ‘link’. Alternatively you can use the keyboard shortcut Ctrl+K (CMD+K on a Mac).
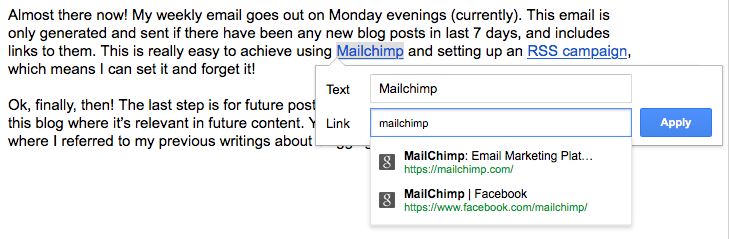
Sometimes there’s enough detail at this point to turn into a fuller piece of writing – it depends on how developed the idea is. Often, however, I turn to other tools.
Getting it done
When I’ve got a good idea of what I want to say, and I just need to get on with it, I use Blindwrite. I’ve written about this tool before, and it’s great for encouraging focused writing, eliminating any distractions when getting words down on the page.
Sometimes a creative approach, away from the screen is needed, so I use a big sheet of paper or a whiteboard to help structure the post. I’ll start by writing out the main section headings, then I’ll add bullets or sentences to each of these. It’s not necessary to have these neat, or perfectly written, it’s just about getting ideas out of the brain and seeing where they fit in.

In the past, I’ve taken this approach even further. For example, when writing my dissertation, I had all the headings written on a couple of hundred post-its! These could be added to, rearranged or thrown away over time, as the work took shape.
It’s amazing how much of a difference this sort of process can make – there’s something about looking away from the computer screen for a while! Be creative – try a few things and stick with whatever works for you!
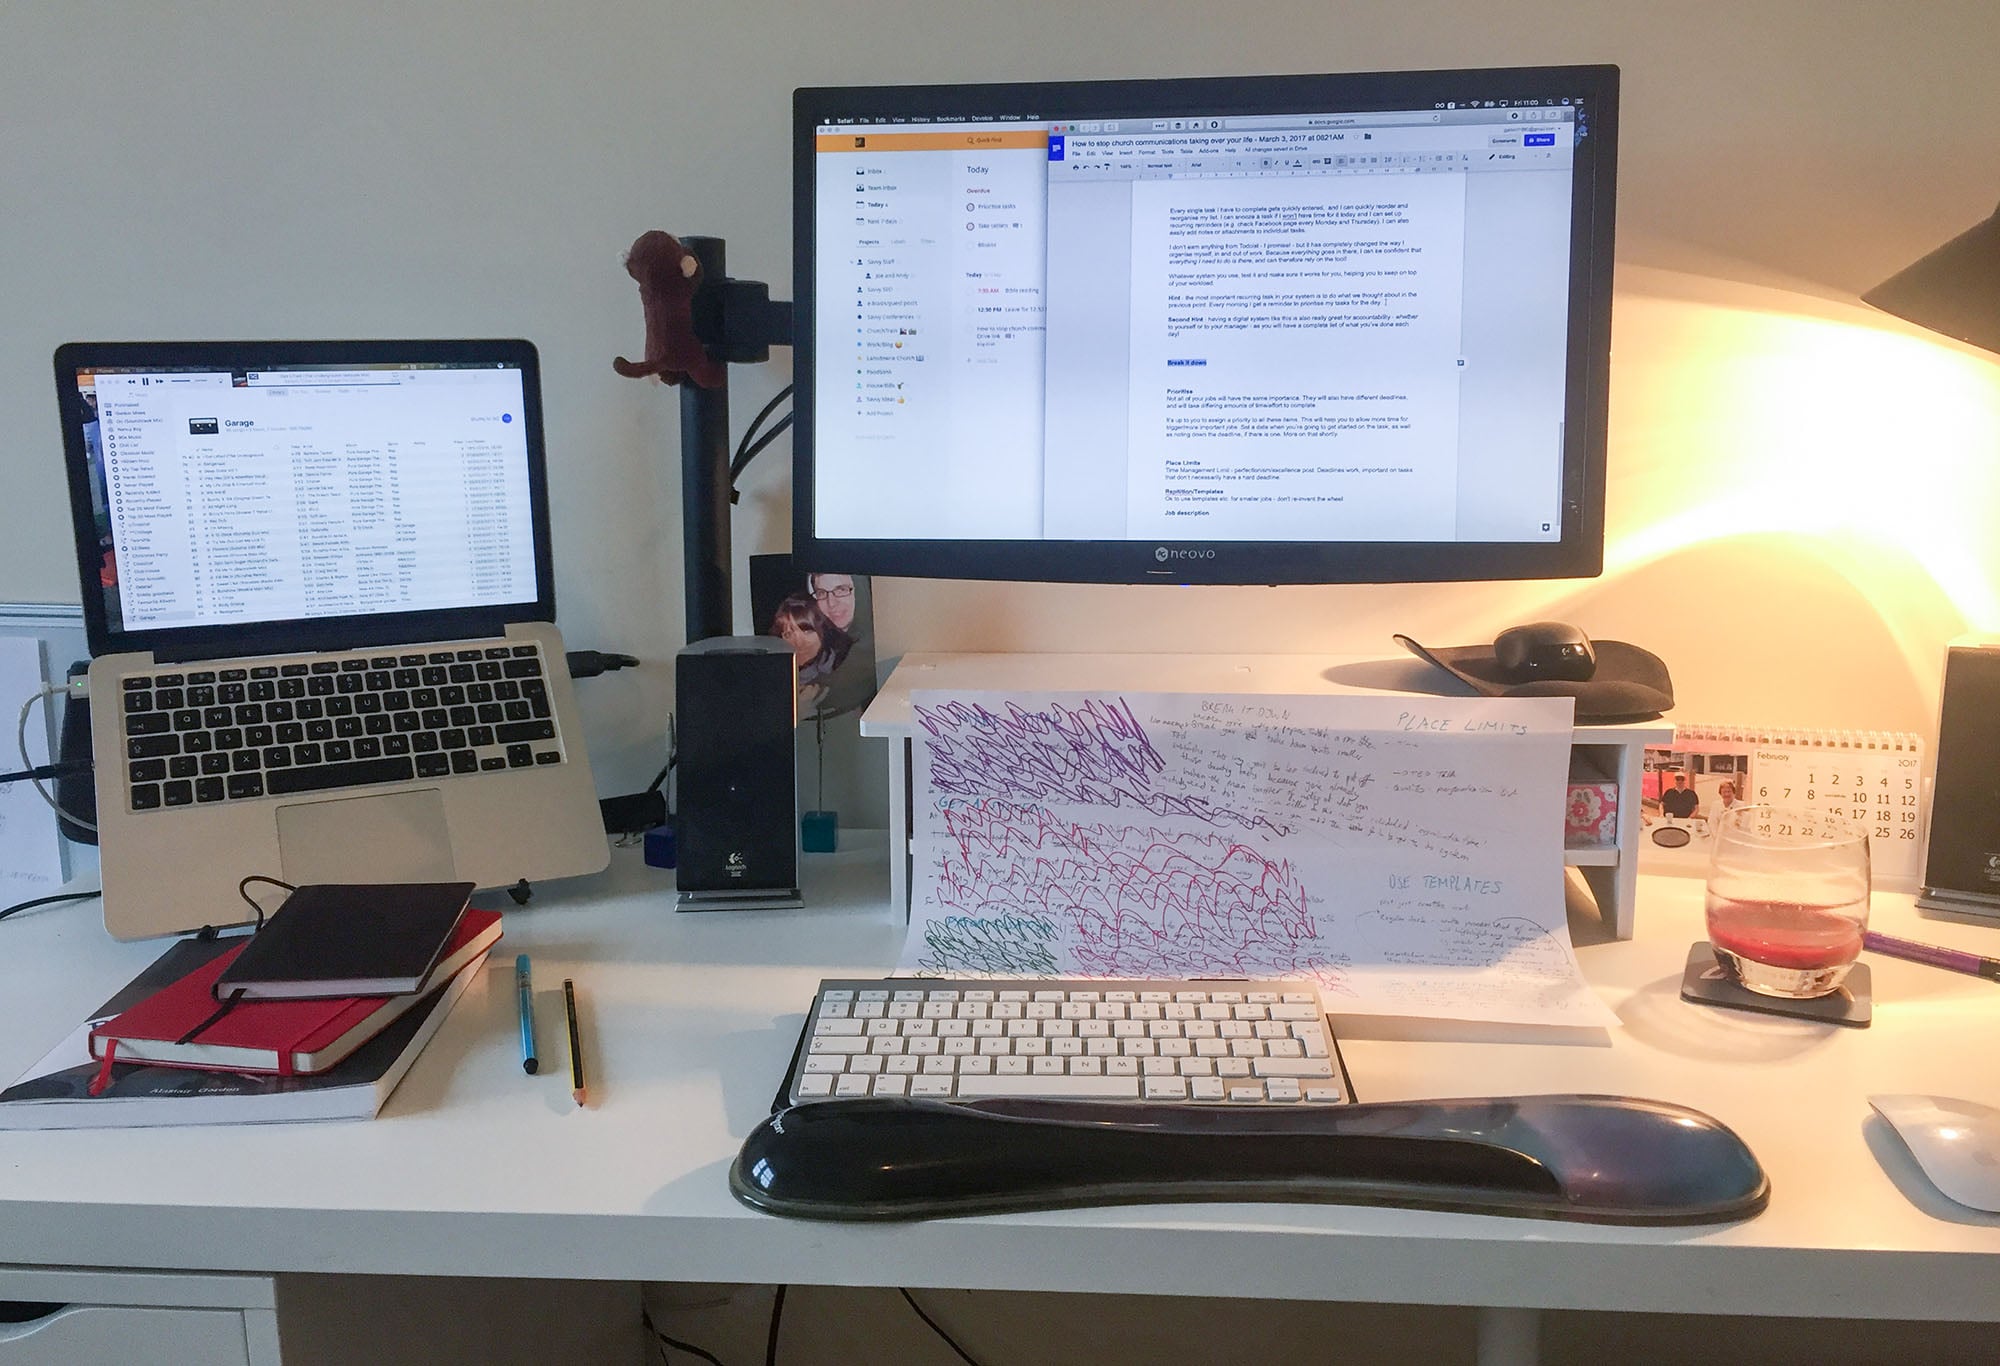
iTunes playlists and smoothies are also essential to writing blog posts…
Formatting and Final Steps
When the text is close to completion, I paste it from the Google Doc into WordPress, and save it as a draft. Don’t forget to give it a good title!
At this point, I like to sort out any text formatting, giving styling to titles and key phrases to help them stand out.
As I’m pasting rich text in to the editor, I sometimes have to visit WordPress’ plain text editor to strip out unnecessary styling code that has been carried over. This ensures I’m not adding any styling that is inconsistent with my blog’s default styles. Don’t worry if this bit goes over your head!
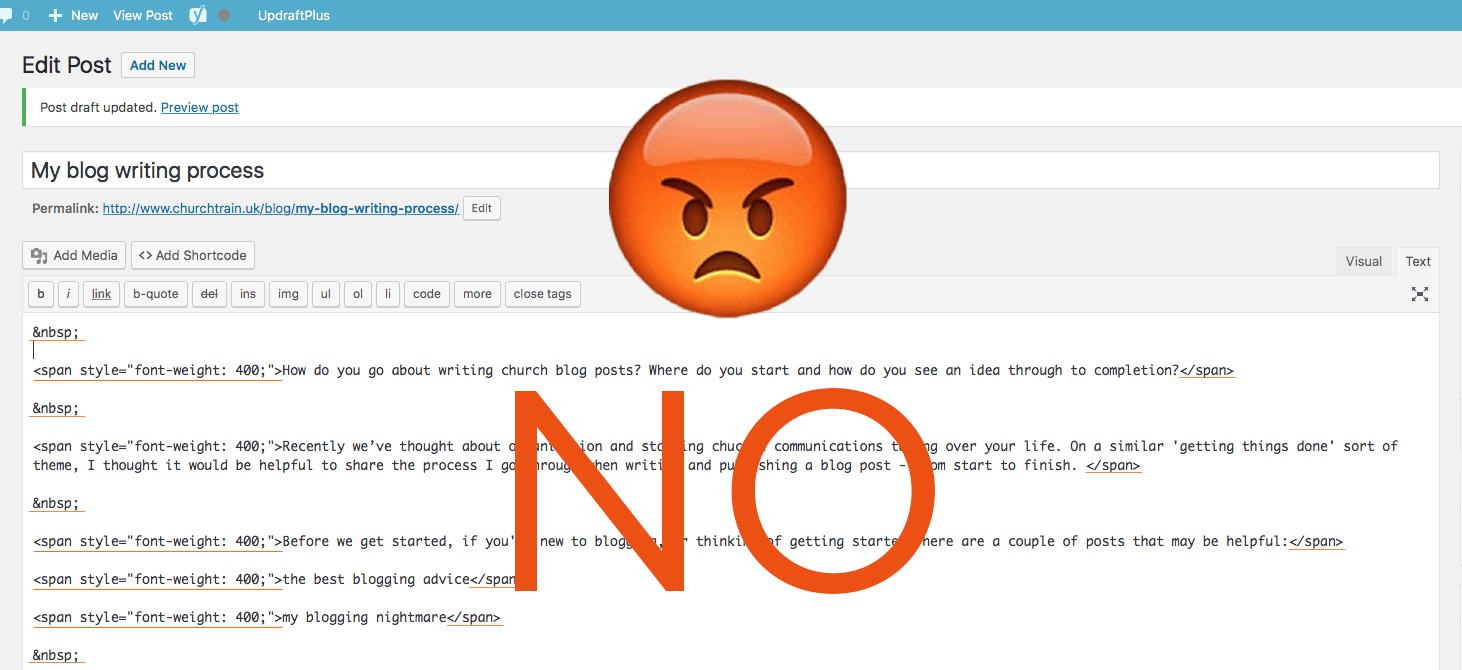
Get outta here! A quick find/replace will get rid of you lot…
Once I’m happy with the layout in WordPress, I give the text a final check, and check the overall flow of the content. From here, I am fortunate enough to be able to send it to my sister for a bit of a proof read. To this end, I’ve created her a WordPress user so that she can log in and review posts that are in draft format.
Around the same time as this, I spend some time looking for the right images to illustrate the post. The main picture for the ChurchTrain blog is the featured image at the top of the page, which also gets used elsewhere around the site. I usually have some image ideas in my mind as I’m writing, so this doesn’t take too long.
I also take the additional step of creating a separate graphic for social sharing. Personally, I have a Photoshop template, where I can add the chosen featured image, and then overlay the post title and a tagline.
It’s important to remember to resize (and if possible, to compress) your images before uploading – we don’t want to have huge images slowing down the speed the webpage loads. Once I’ve decided on the right size for the images and scaled them appropriately, I use a little Mac Application called ImageOptim to compress them to be as tiny as possible.
Once I’ve added the post to one or more categories, my final step before publishing is to add the relevant metadata to the post. I use the brilliant Yoast SEO plugin to customise the title tag and meta description that search engines see. This is also where I add the social sharing image, so that Facebook and Twitter use the graphic instead of any other image in the post.
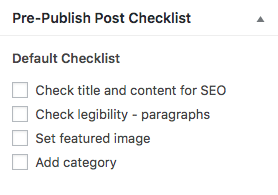
I use a WordPress plugin called ‘Pre-Publish Checklist’ which gives me a warning if I haven’t ticked all of the boxes on my checklist, which should hopefully have been taken care of in the steps above!
Time to publish!
Personally, I find the time at which I actually publish the blog post doesn’t make a world of difference – it would only matter to people who happened to be visiting the site anyway. Much more important is the time at which you share the post! Through practice and experience you will know at what times your social postings will get the best response.
I use the Buffer browser extension to easily post about my new blog on social media: with one click it will bring up a box pre-populated with the post title, the link, and even the social media graphic I added earlier. I can tick to select which of my social networks this is shared to. I often schedule another round of social media sharing for a few days after, to make sure I’m making lots of people aware of the post.
Almost there now! My weekly email goes out on Monday evenings (currently). This email is only generated and sent if there have been any new blog posts in last 7 days, and includes links to them. This is really easy to achieve using Mailchimp and setting up an RSS campaign, which means I can set it and forget it!
Ok, finally, then!
The last step is for future posts – I do my best to remember to include links to this blog where it’s relevant in future content. You saw me do this right at the start of this post, where I referred to my previous writings about blogging.
Phew!
So there you have it.
Hopefully these insights into my process have given you some food for thought. As I suggested in my last post, writing down your process can be useful for yourself, too, so I’d encourage you to do the same! Feel free to use bullet points, rather than writing 1200 words on it like me, though…
Anything you do differently, or any ways you can suggest to make my process more efficient – tell me in the comments!